Sidebar
Table of Contents
DAX Lamps and Ambient Lights
DAX Lamps are custom lighting fixtures designed and built by me that use RGB and RGBW individually addressable LEDs and run on either a PIC24 or ESP32. The firmware library can display a variety of animations and color modes and can operate with WS2812B (aka “NeoPixel”) RGB LEDs, APA101 (aka “DotStar”) RGB LEDs, and SK1288 RGBW LED strips.
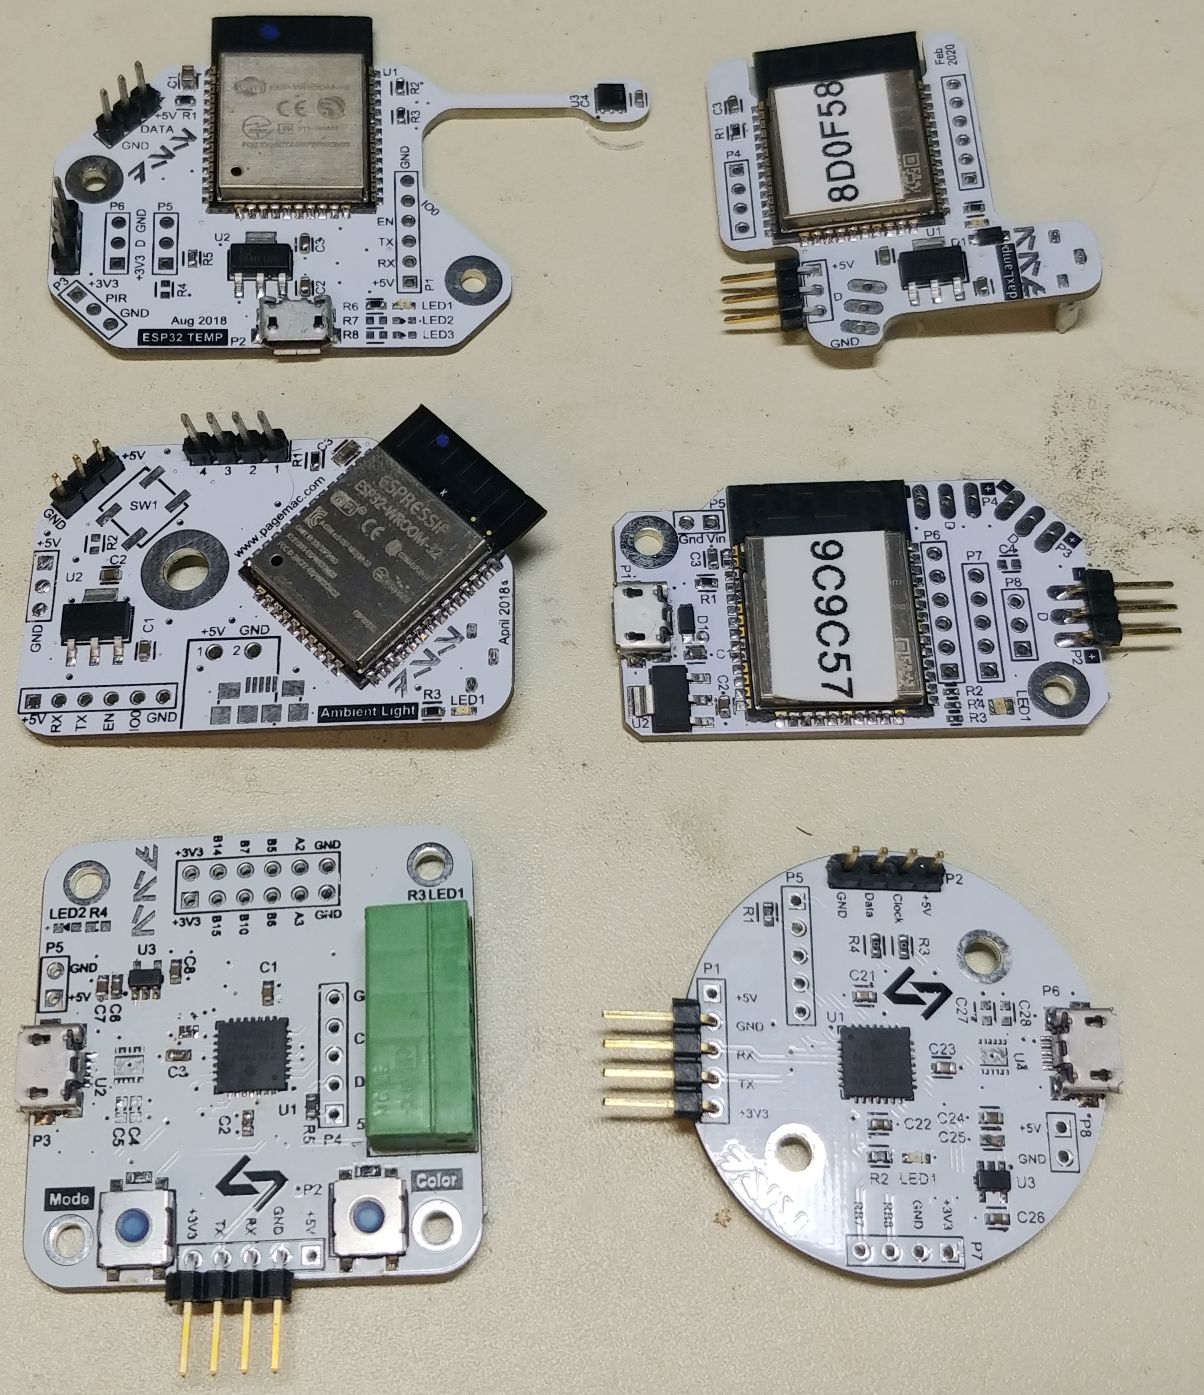
I have made a variety of custom circuit boards over the years to fit these lights in different kinds of lamp fixtures, but all of my newest lamps run on a small ESP32 board and run my DAX ESP32 firmware.
Development
When I created the LED_Panel board, I came up with a custom “ambient light mode” animation that displayed a pleasant visual pattern to watch. I enjoyed this pattern so much that I made extra LED_Panel boards just to be used for this lighting mode in a few places in my apartment. I soon outgrew the Adafruit LED library and the LED_Panel board itself. I wanted to create a board specifically for making these LED ambient lights. So I used my preferred microcontroller at the time, the PIC24, and created a new board that could operate with the Nalig network. I also created a library that allowed me to use the same ambient light core in both Arduino (for the LED_Panel) and in plain C for the PIC24.
The plan was for these lights to be controllable through my home automation system and also have the capability for local control with buttons.
Platform Shift
During this time of development, I was also beginning my transition to DAX Home Automation. One of the key issues with my original Nalig sensor network was the lack of remote firmware update capabilities. This meant that anytime I wanted to update or add a new light mode, I would have to physically bring the lamp to a programmer and update the firmware. This was much more difficult on lamps where the PCB was on the inside.
So for my newer lights, I decided to start developing a new sensor architecture based on the ESP32. Not only did this combine two boards (and LED controller board + Nalig sensor board) into a single ESP32 board, it also substantially reduced the number of components required to build a a lamp. It also communicated using MQTT and had built-in firmware update capabilities. Read more about these ESP32 boards and firmware.
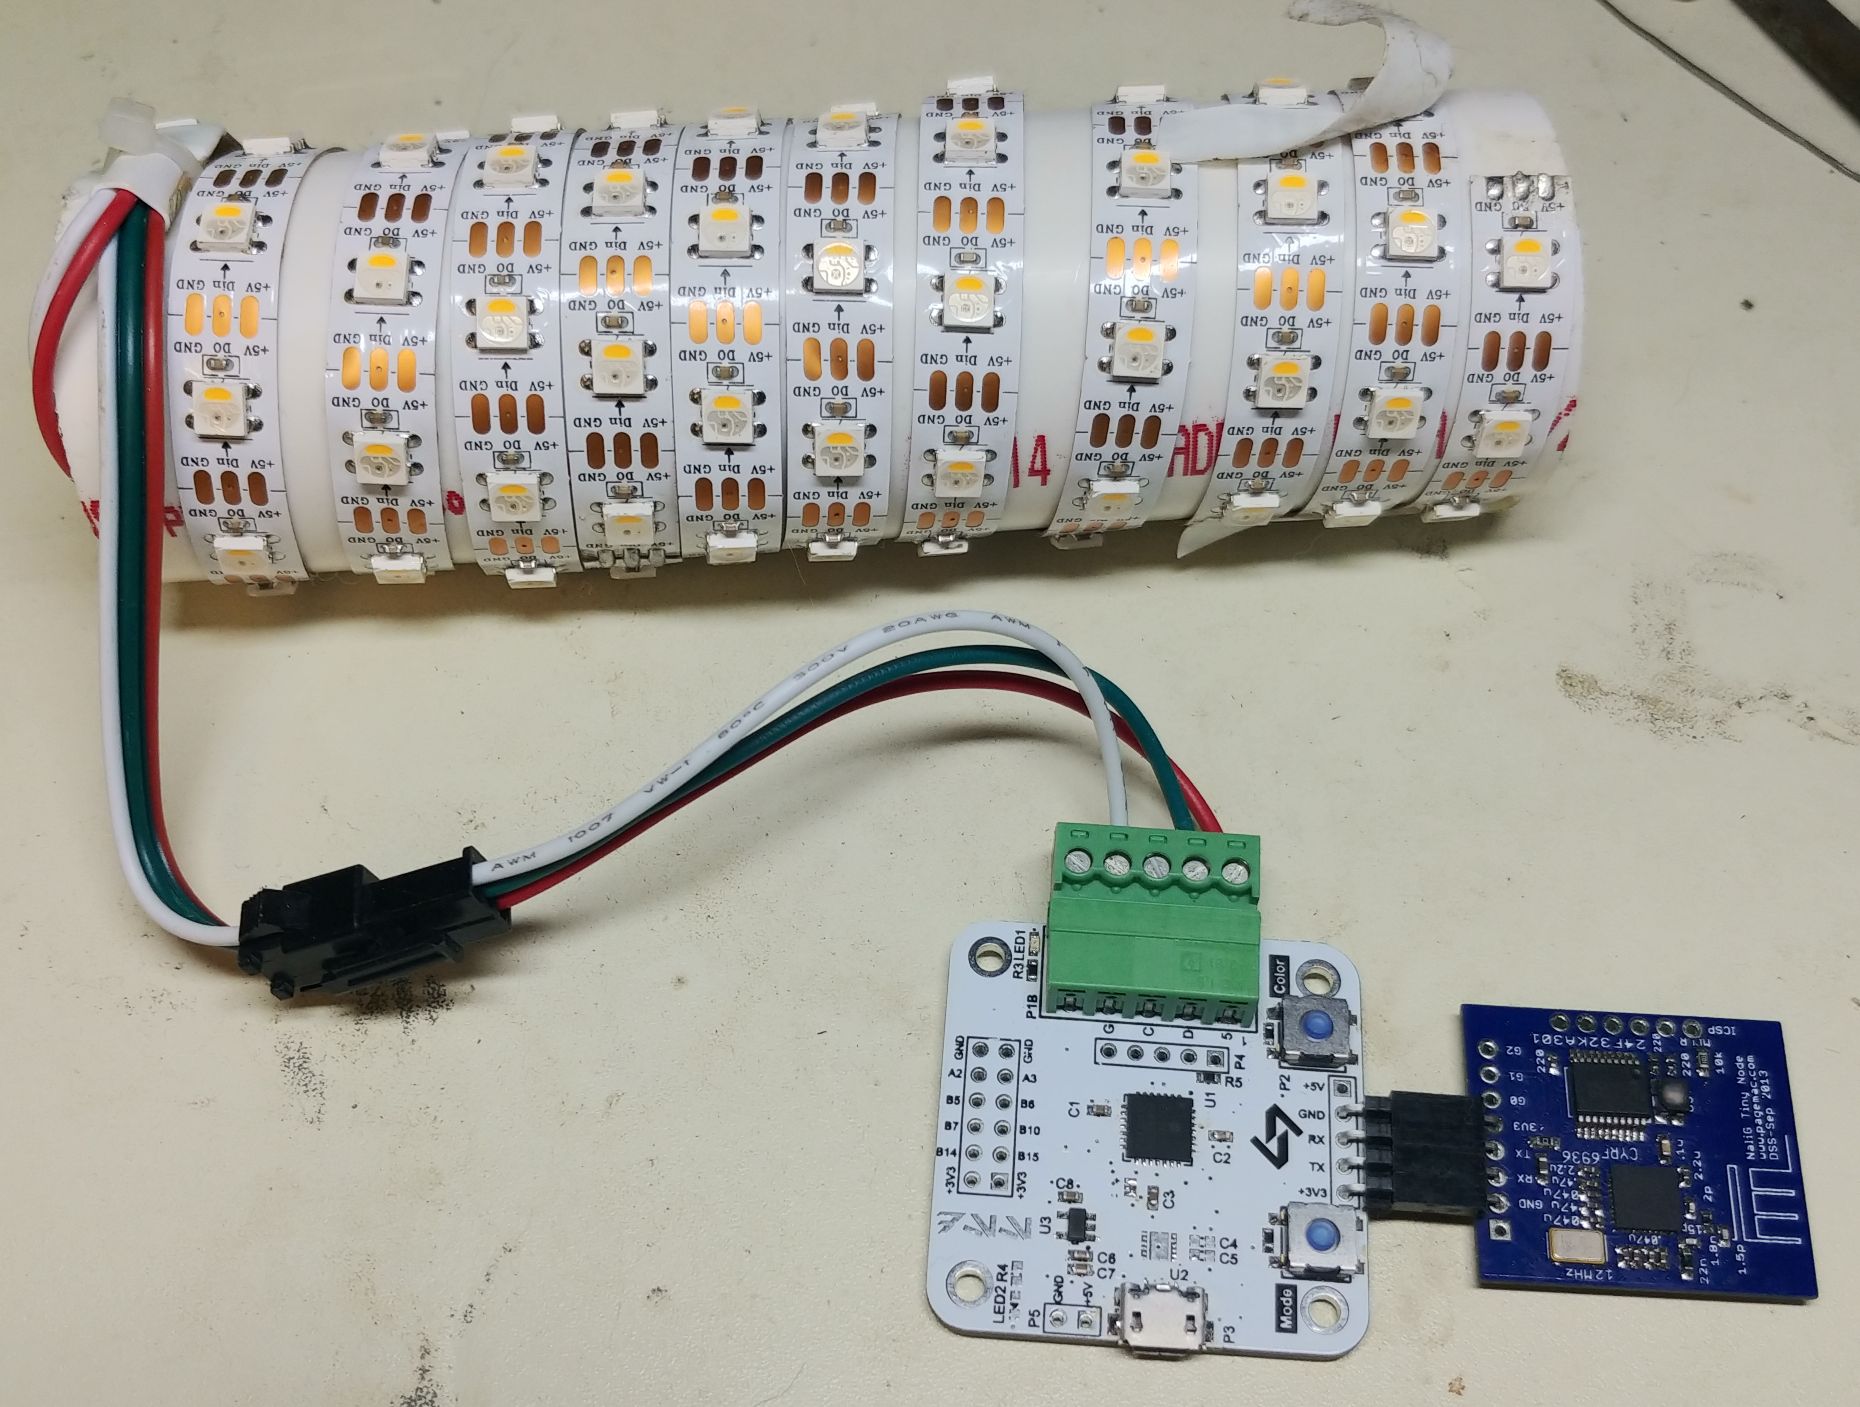
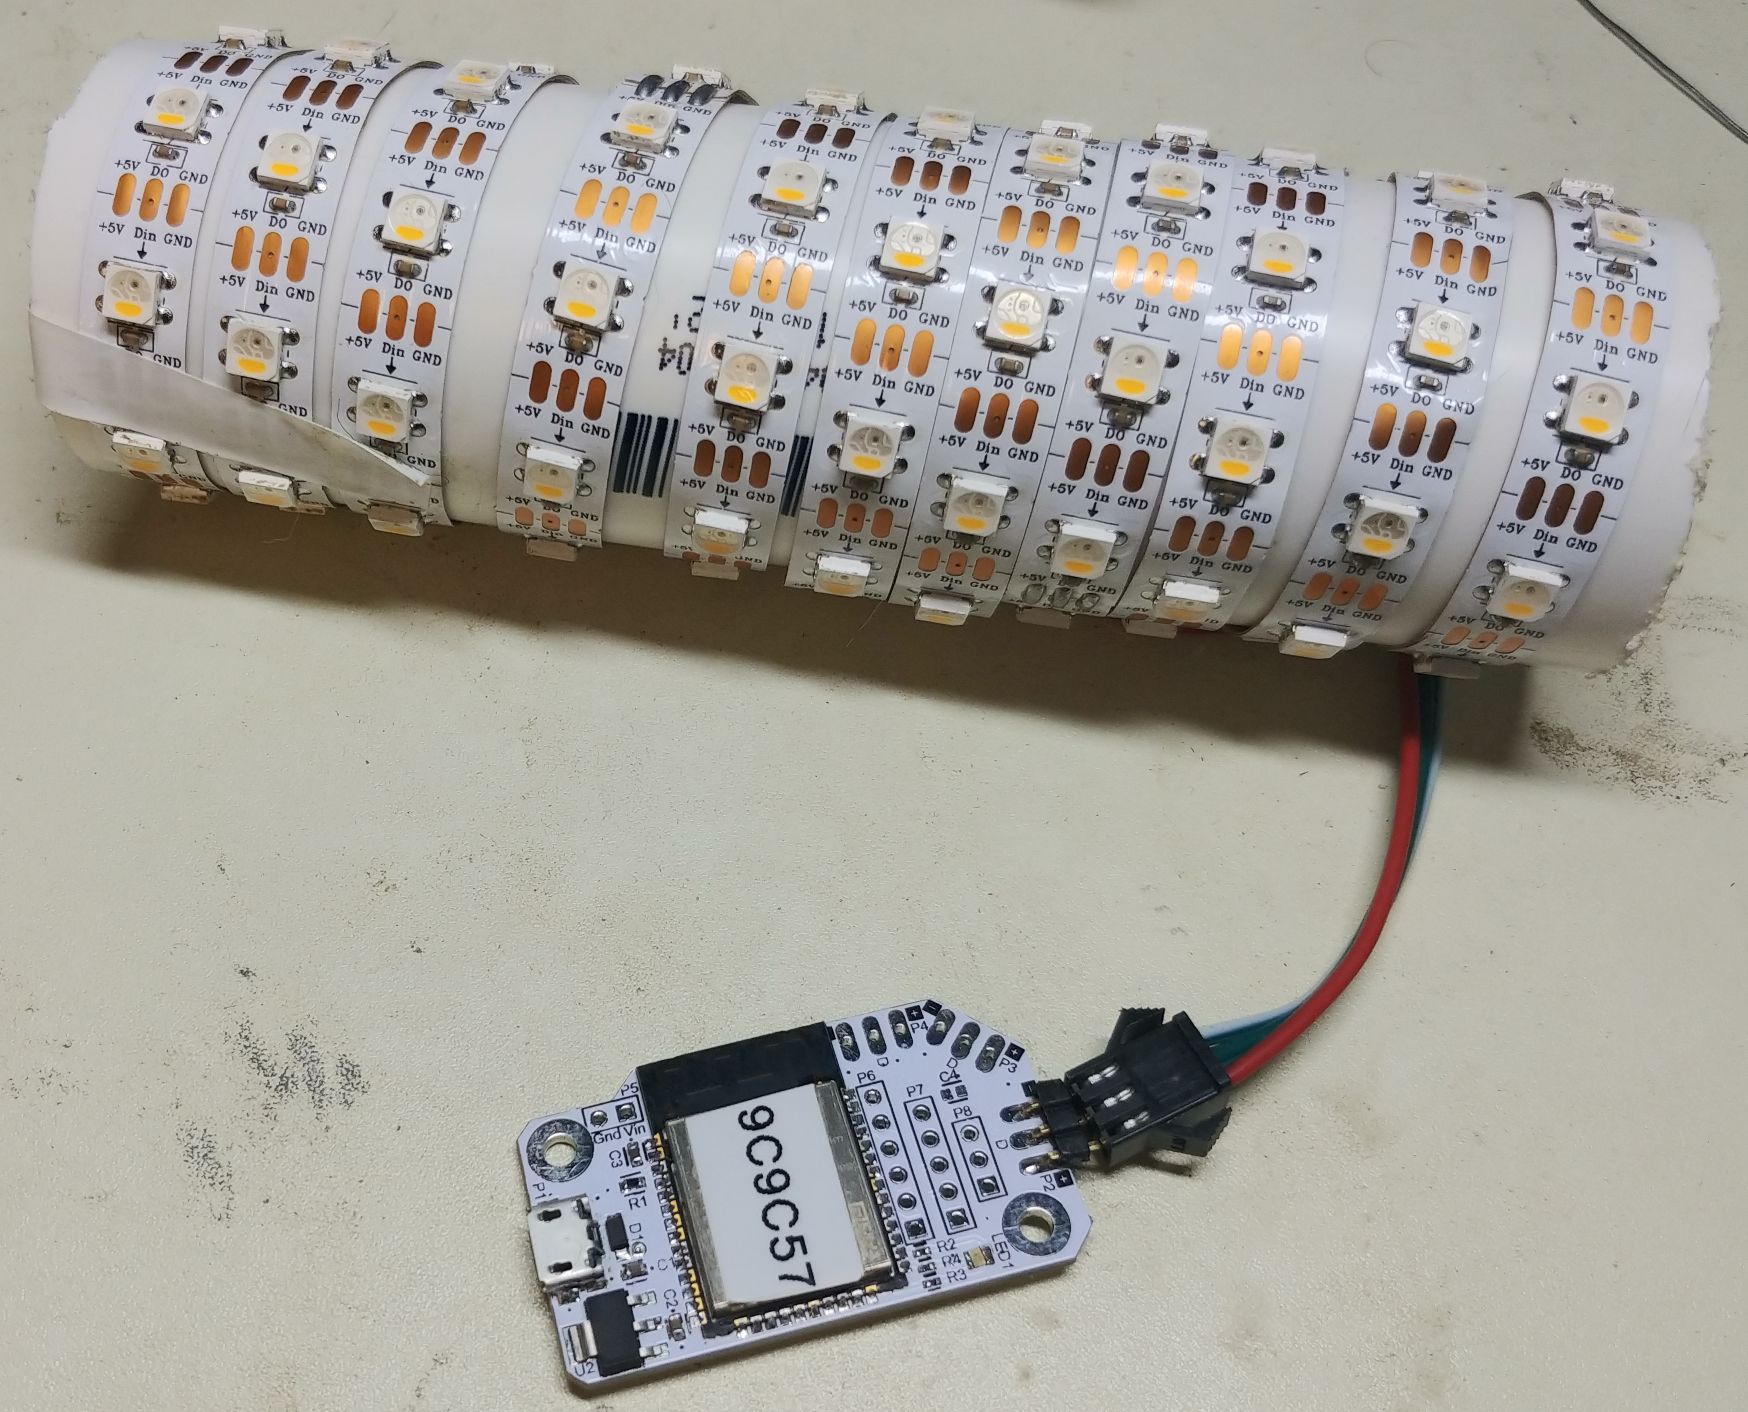
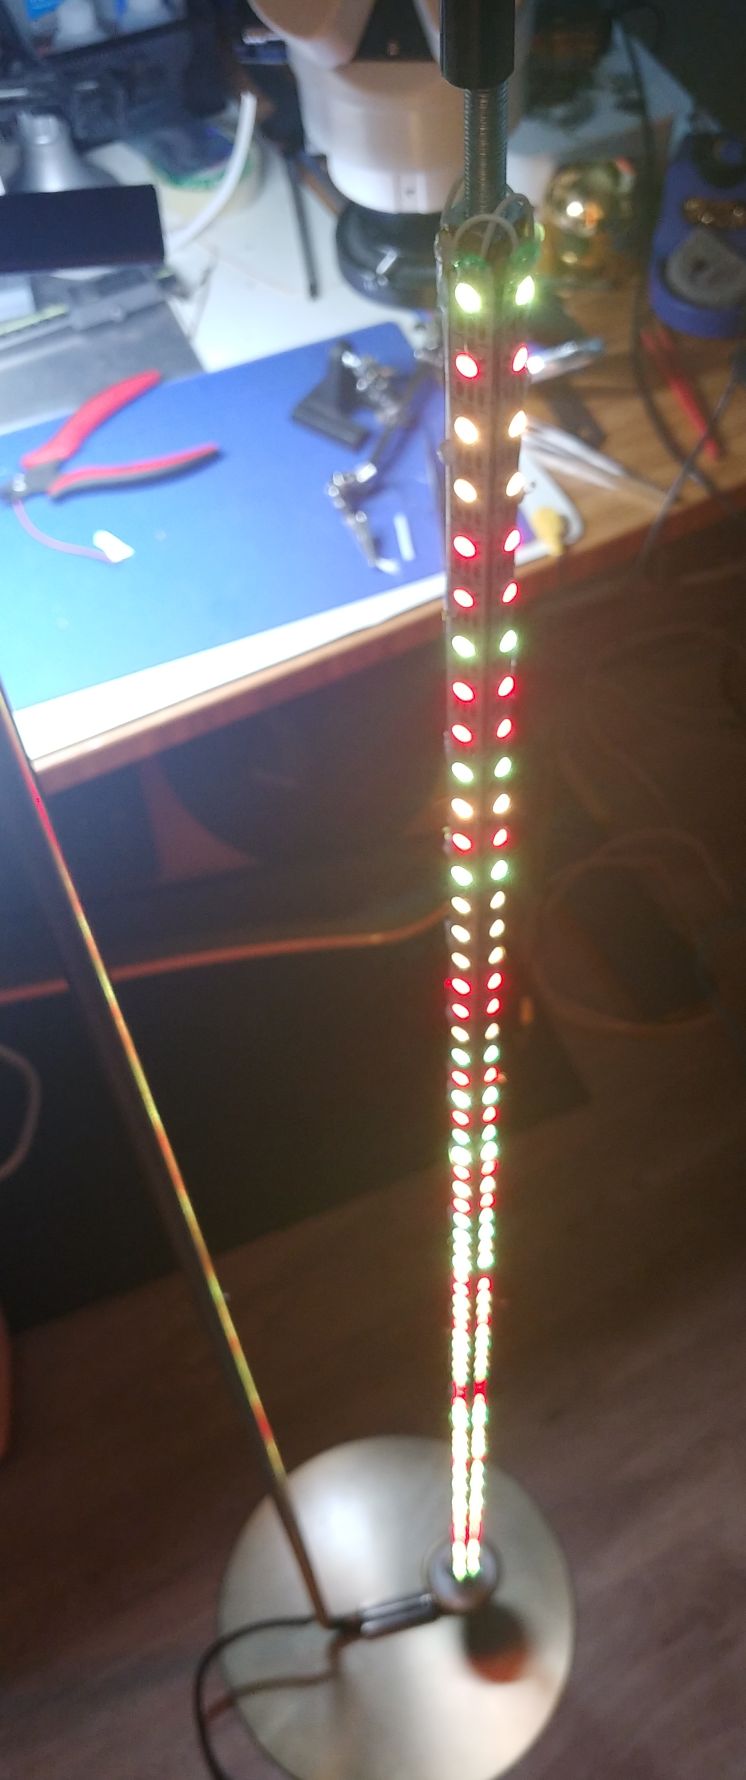
Below on the left is a picture of one of the first PIC24 ambient light controllers connected to a test LED strip and a Nalig radio. On the right, a DAX ESP32 version.
Local Mode Control Buttons

For some lamps, especially ones that I gave away and wouldn't be integrated into my home automation system, I installed an additional PCB on the outside that functioned as capacitive touch buttons. These buttons allow you to rotate through all the LED modes, change the colors and brightness.
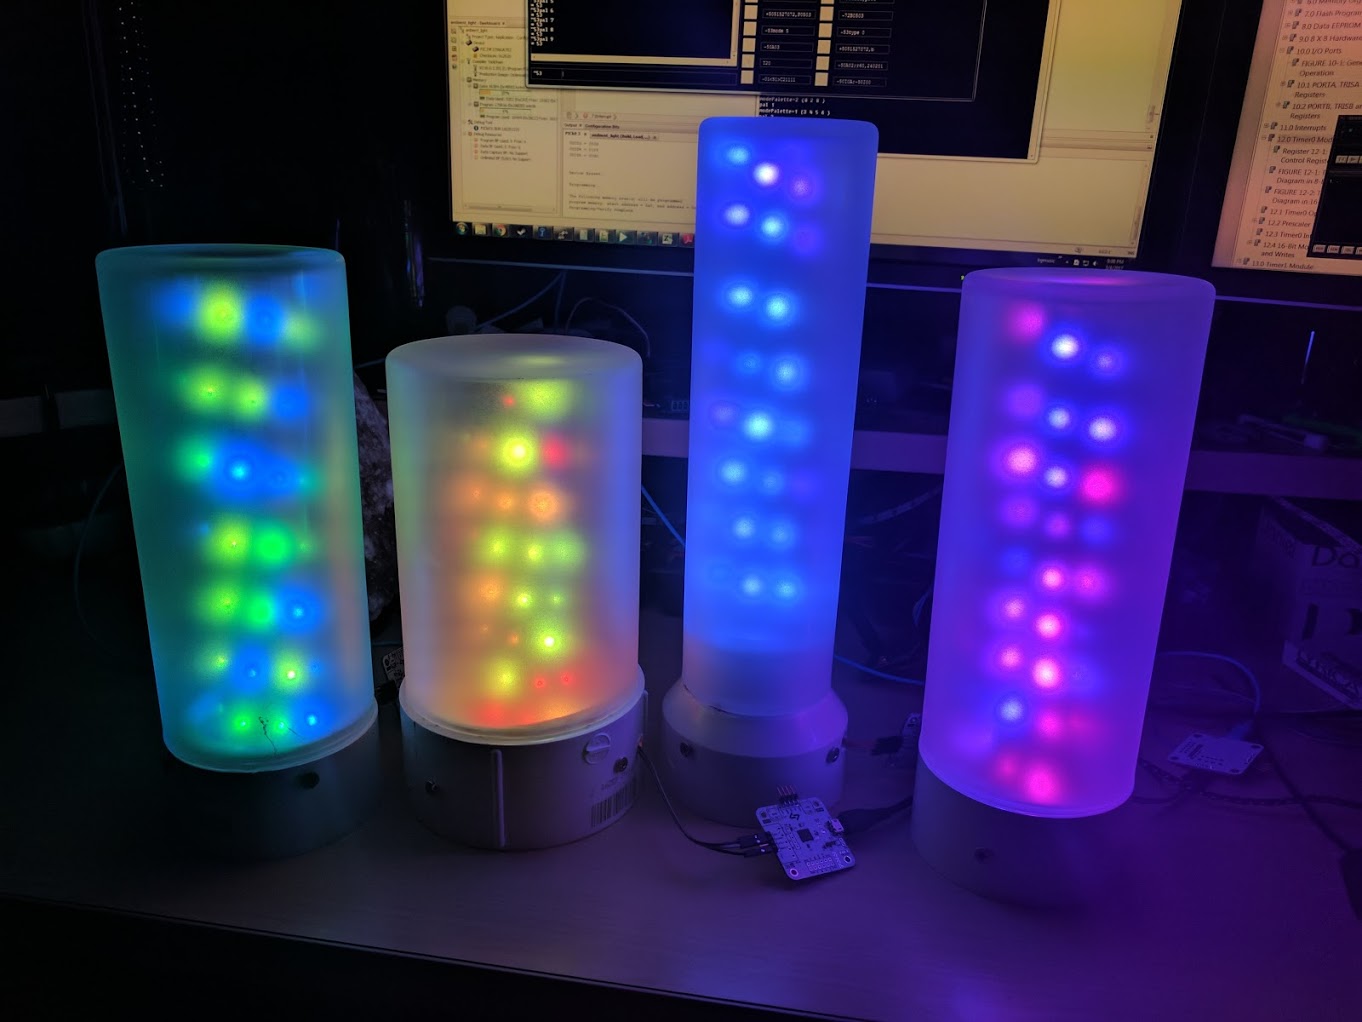
Lamp Models and Construction
I created a variety of lamps using all the different circuit board variations. Some are just plain LED strips running under cabinets or behind bed frames, and some were packaged as individual lamps with their wireless modes disabled.
Base Models
My first 3 lamp models were based on some vases that I found at IKEA. I spray painted the vases with about 3 layers of frosted glass paint in order to give the lamp a more diffused appearance.
From the hardware store, I found various sections of PVC pipe adapters that fit into these vases. I used some long screws to connect a 1“ diameter PVC pipe to the inside of the PVC pipe adapter, then hot glued the LED strip in a spiral pattern around the PVC pipe. Each lamp has about 60 total LEDs. From there, the glass vase was placed on top of the PVC adapter and glued together.
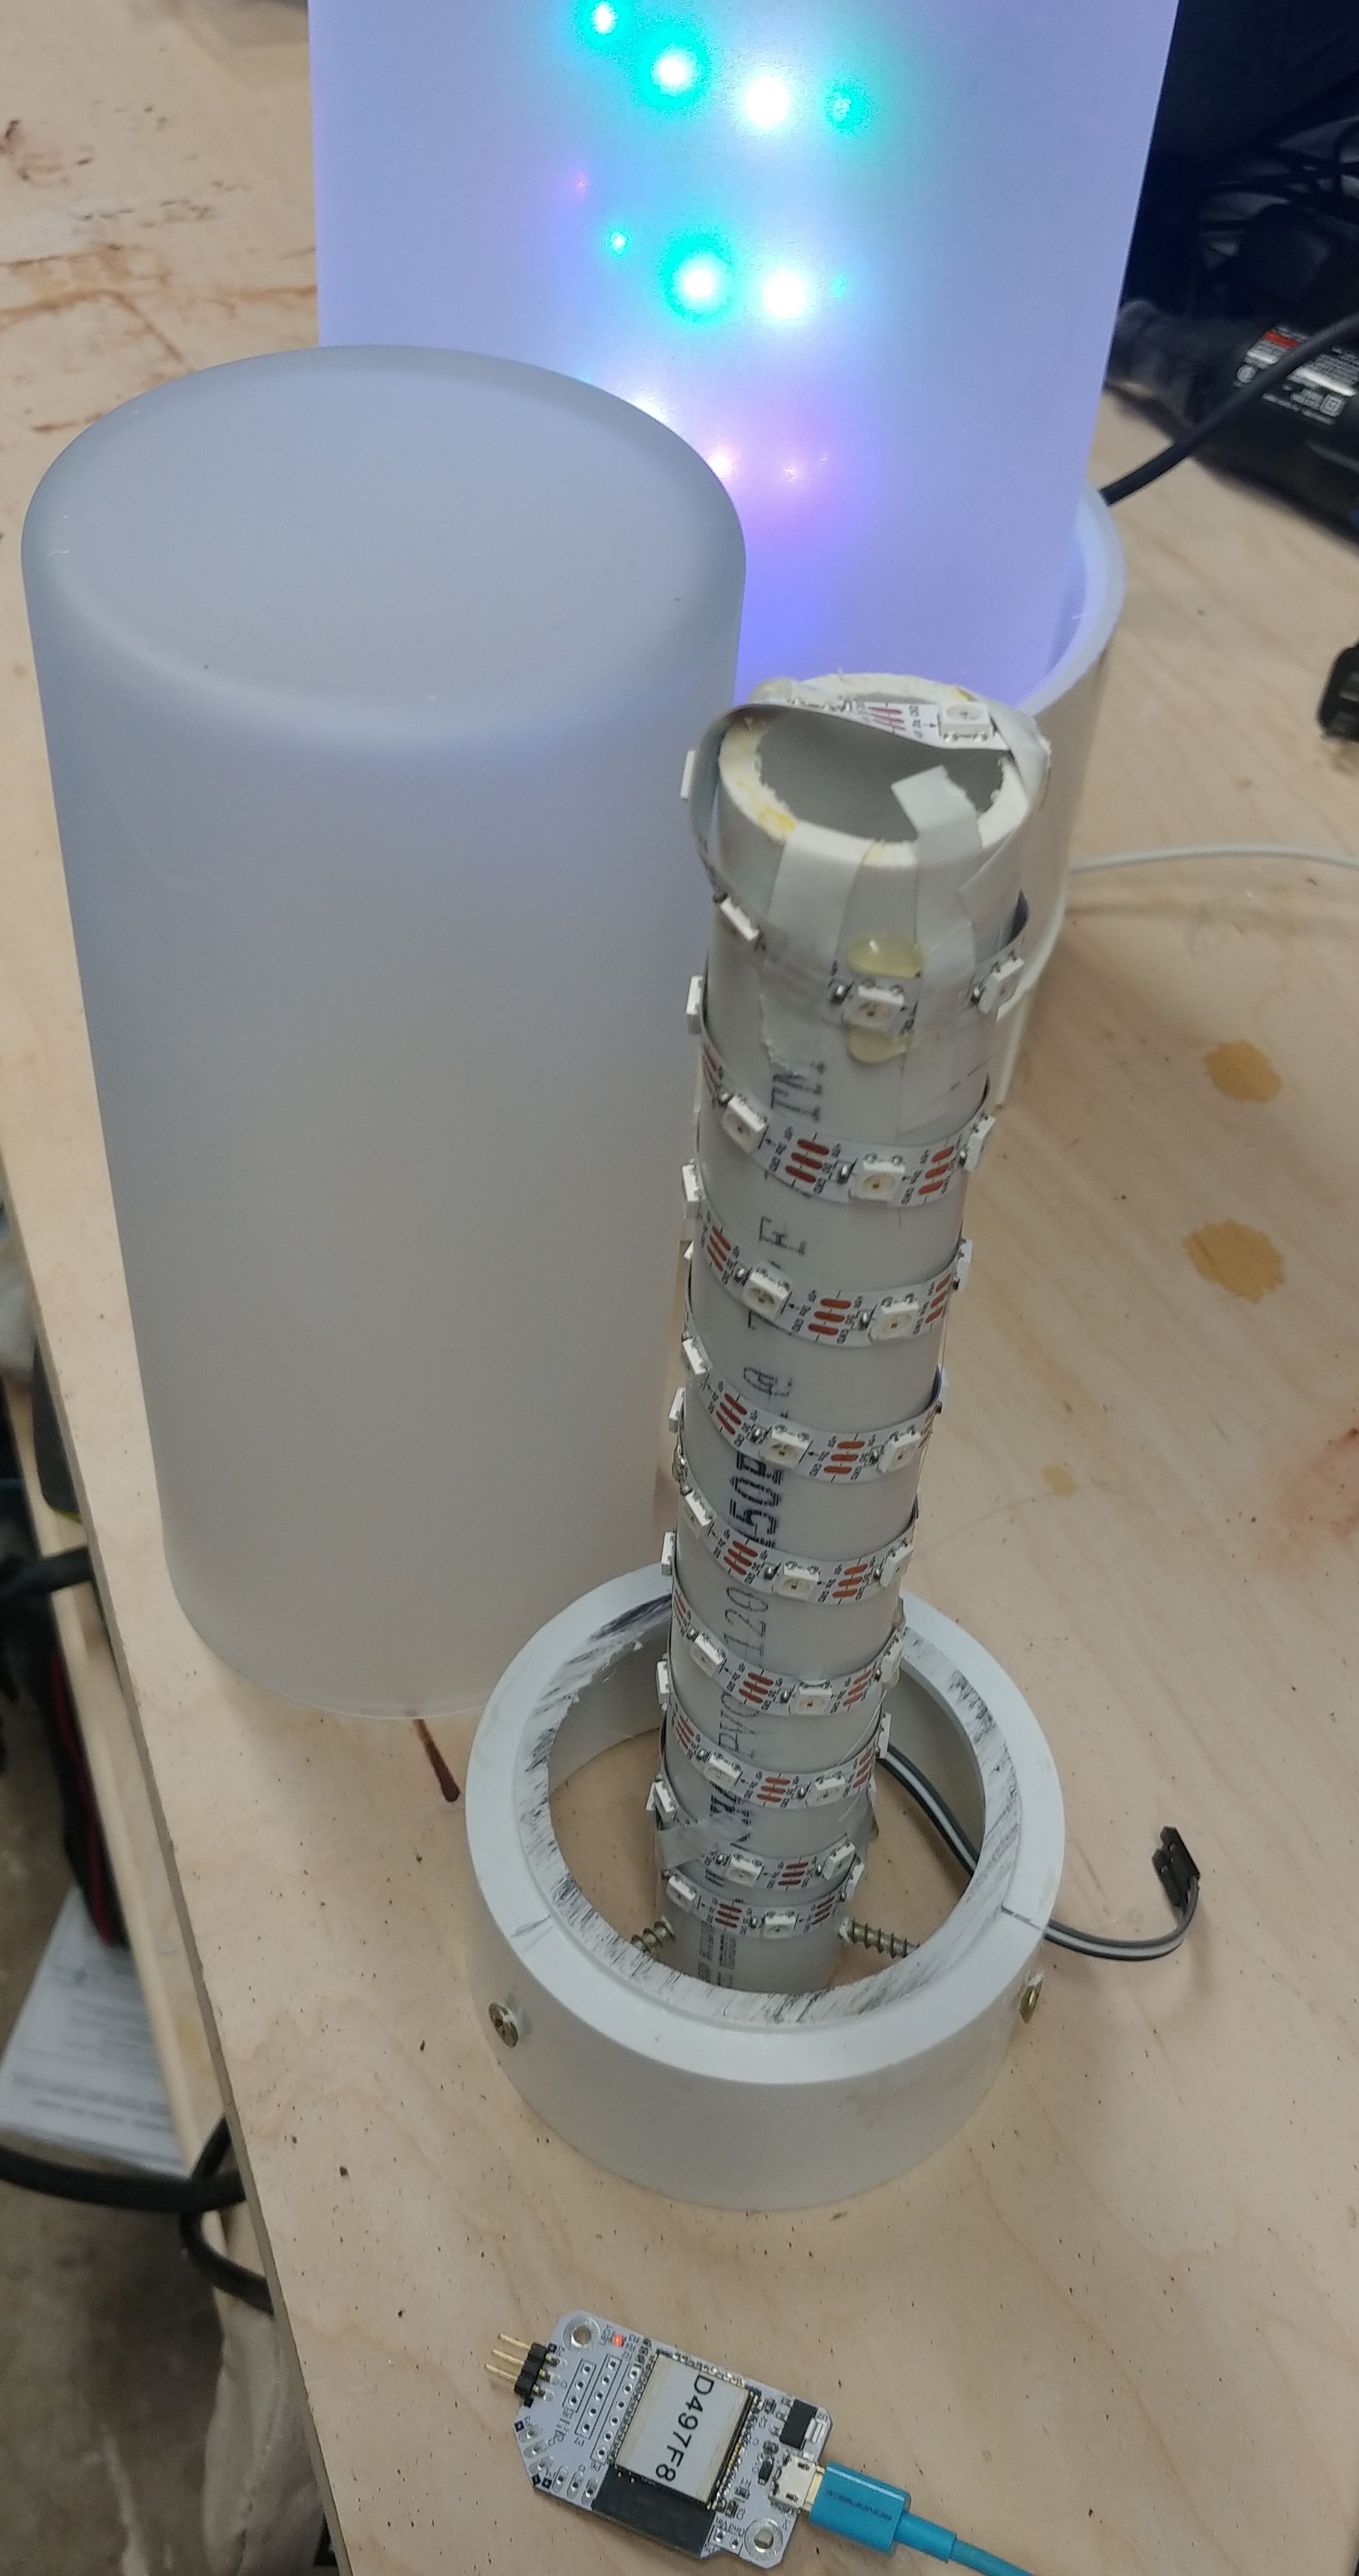
This was the method used to construct the Model A, Model B, and Model C units. Each of the 3 models is just a different shaped glass vase.
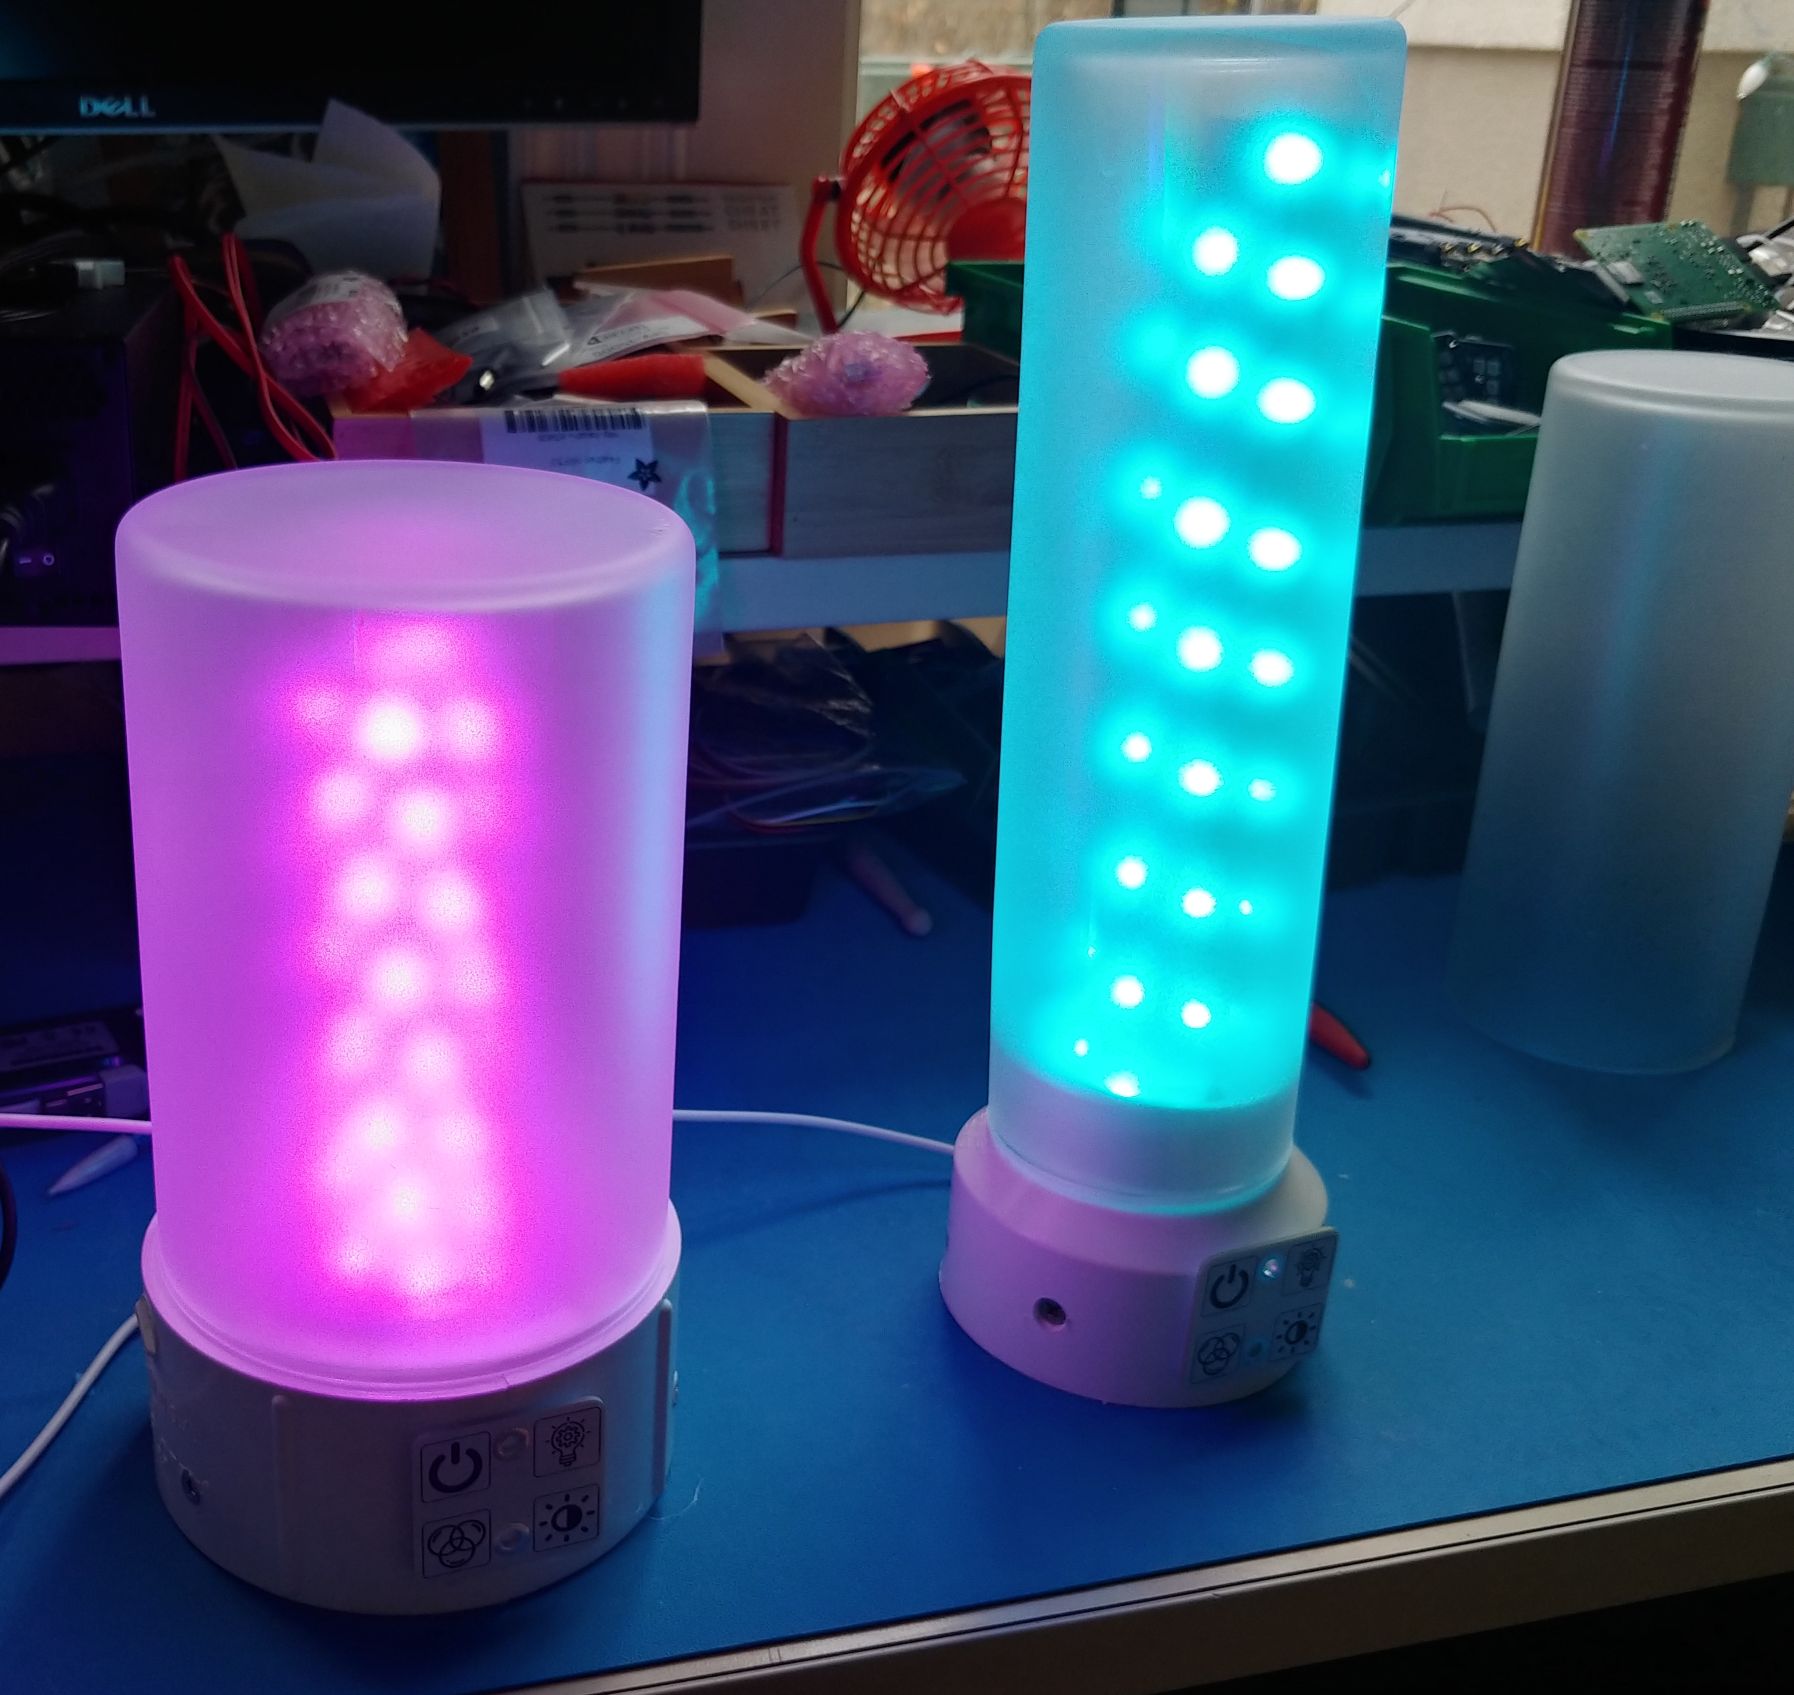
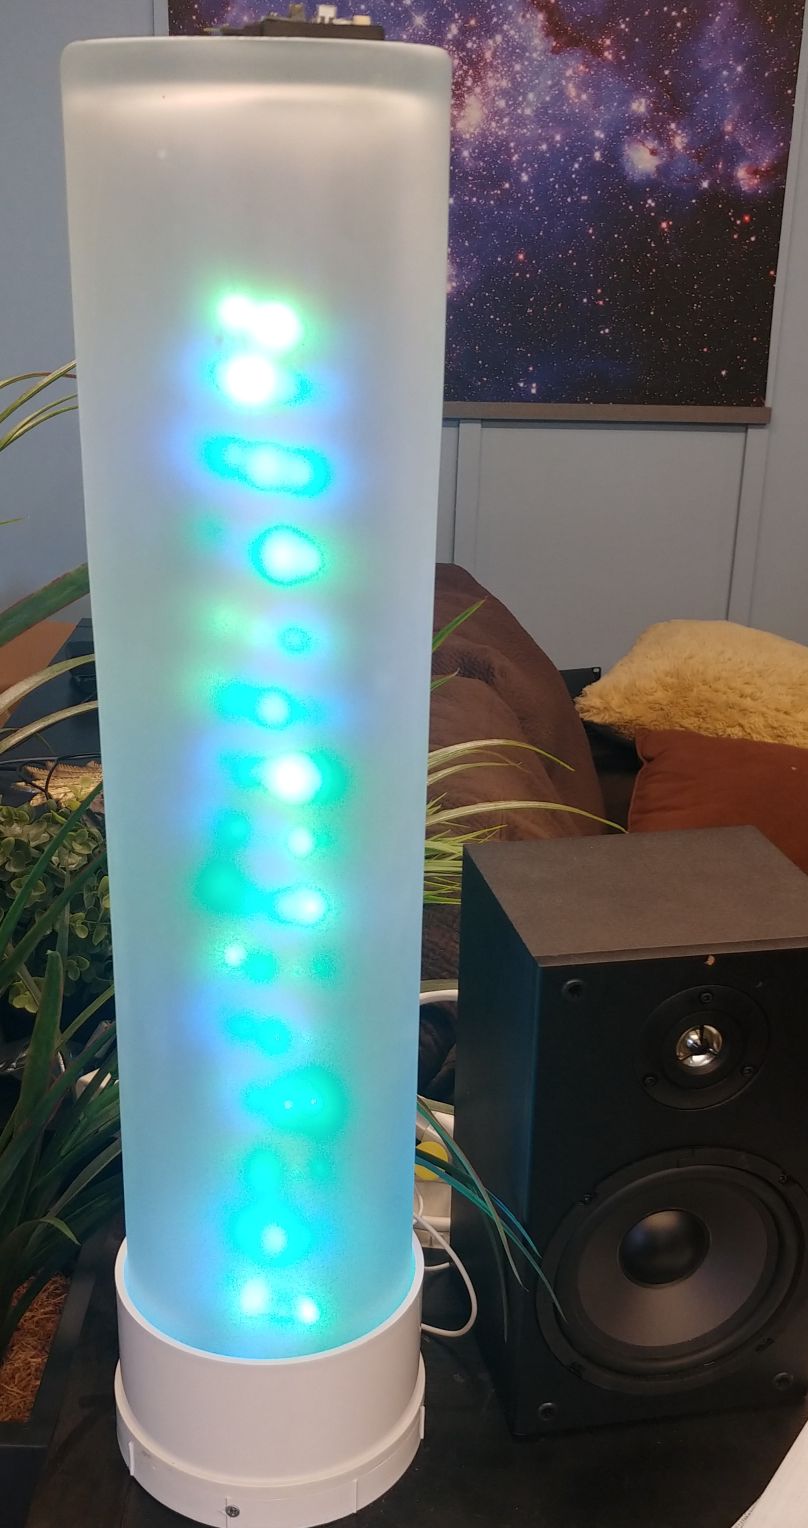
Model D
One day I was at IKEA searching for vases to build more lamps, and I found a much larger vase. I knew immediately it was time to make the Model D.
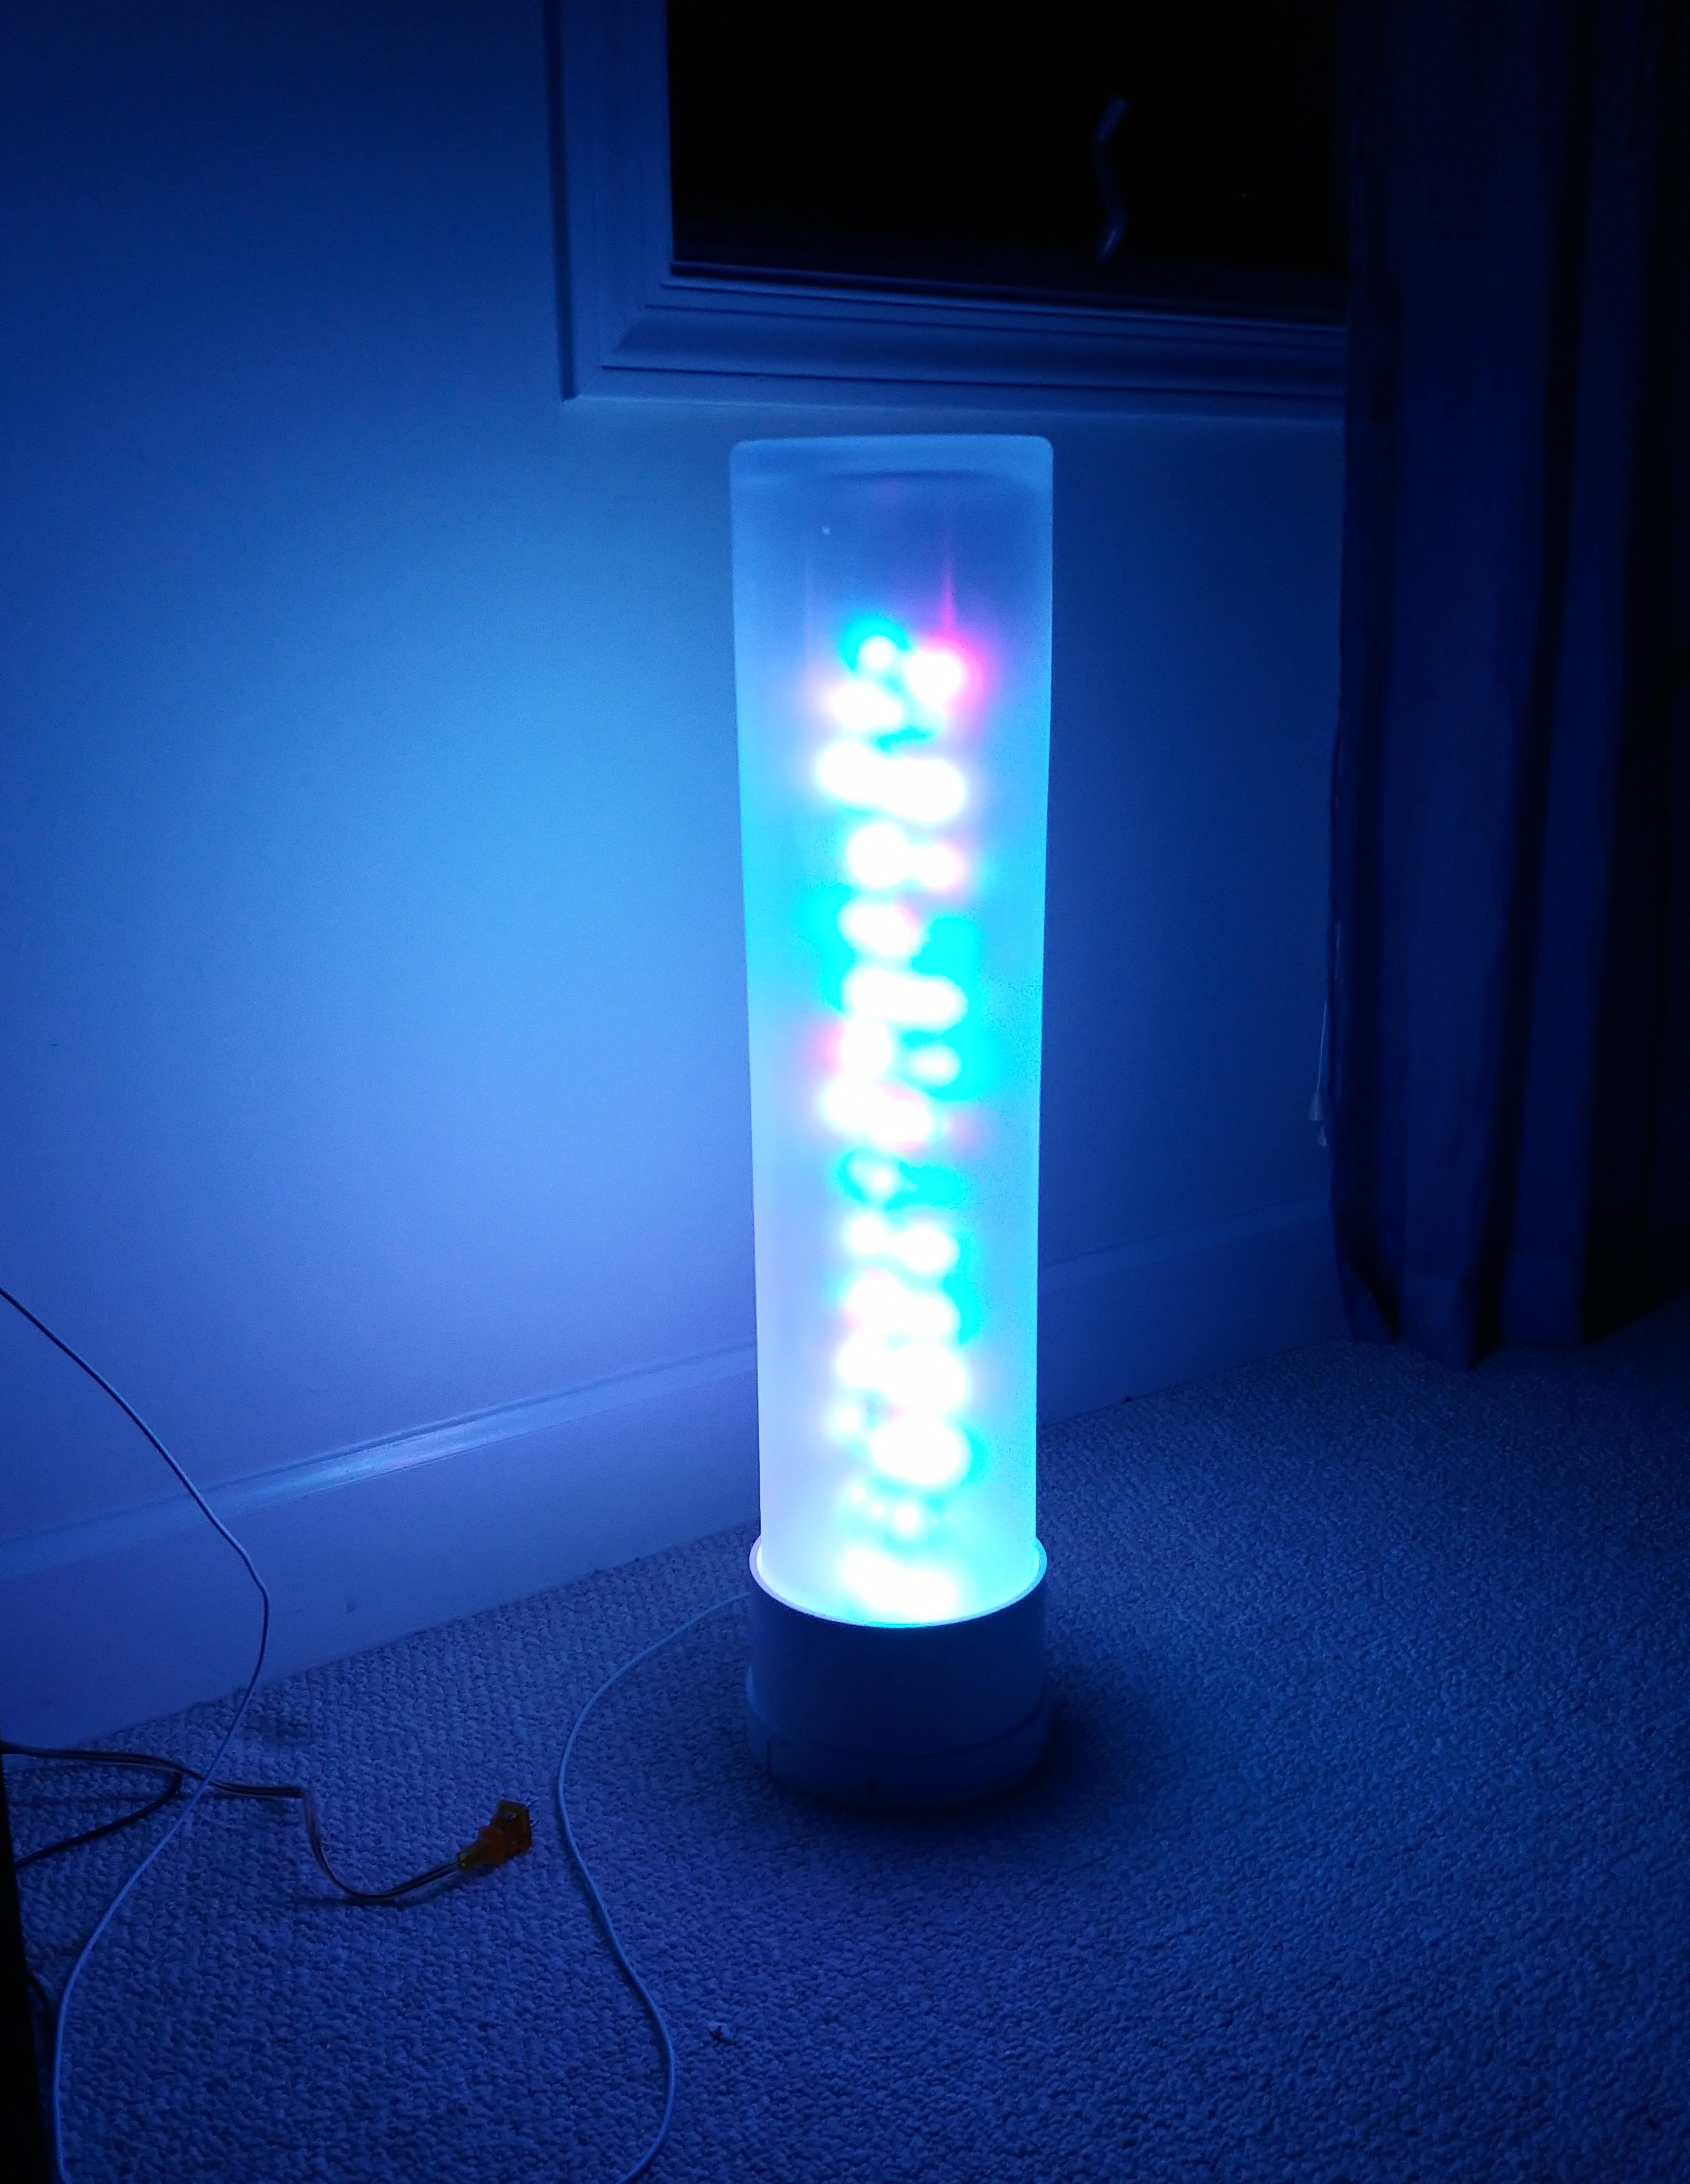
The construction method was exactly the same as the previous models, I just needed some bigger PVC adapters, a longer pipe, and 4x as many LEDs inside. These models require a 5V 3A power adapter in order to operate at full brightness. They stand at 28 inches in height.

Selenite Lamp
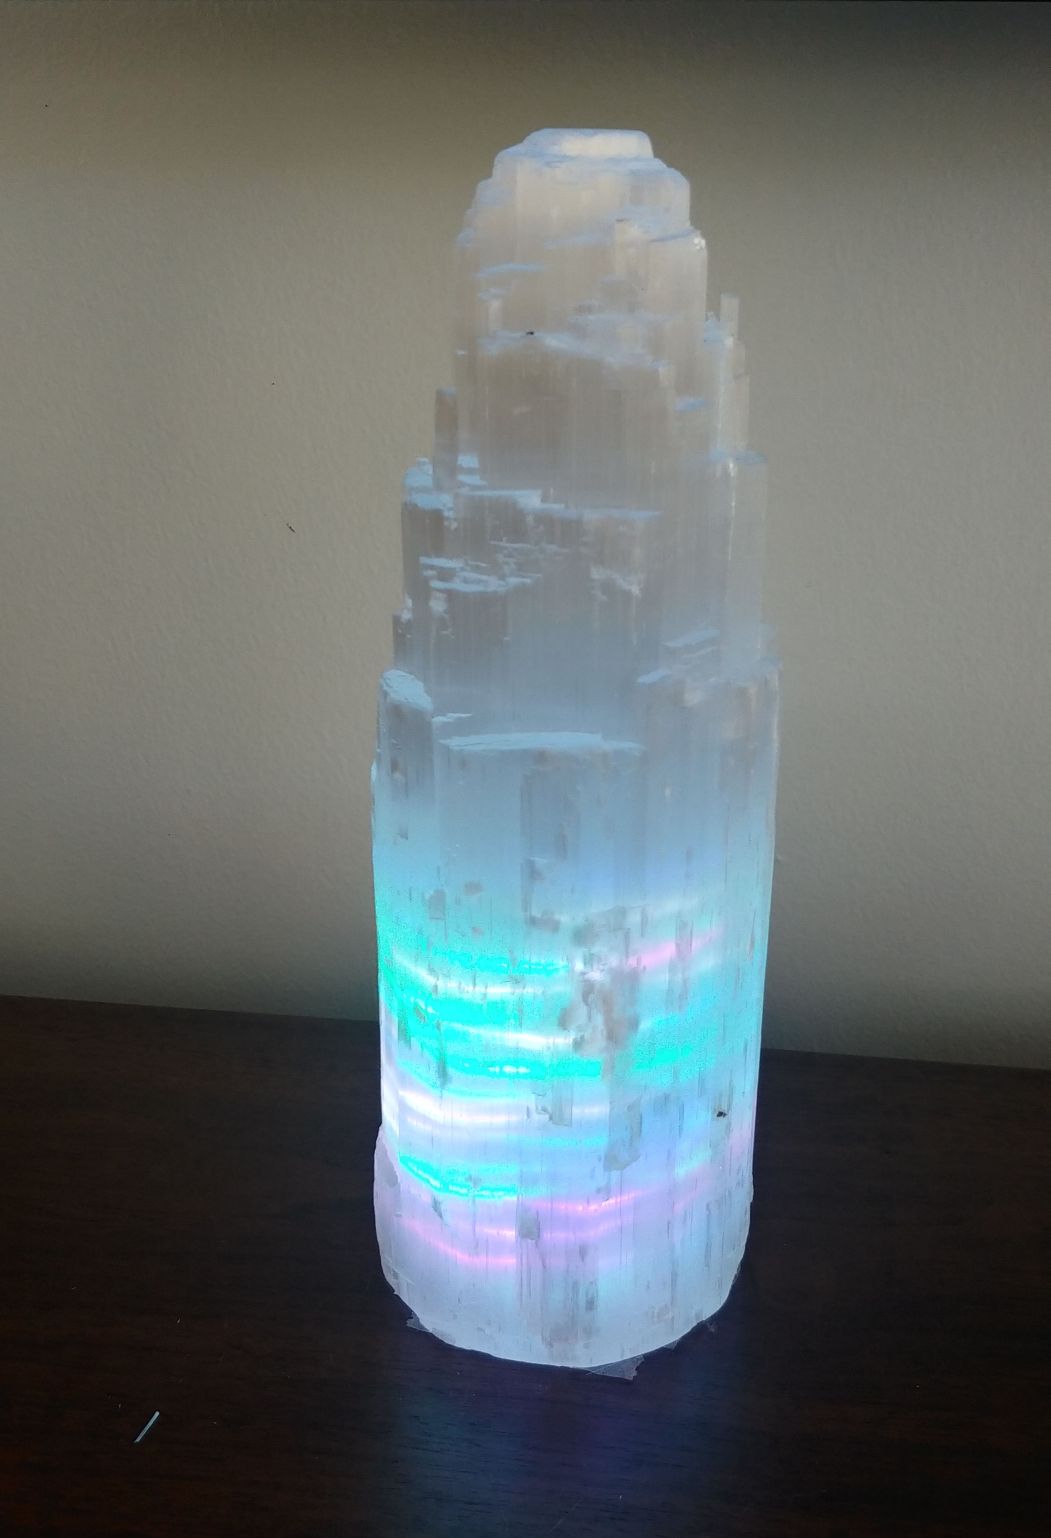
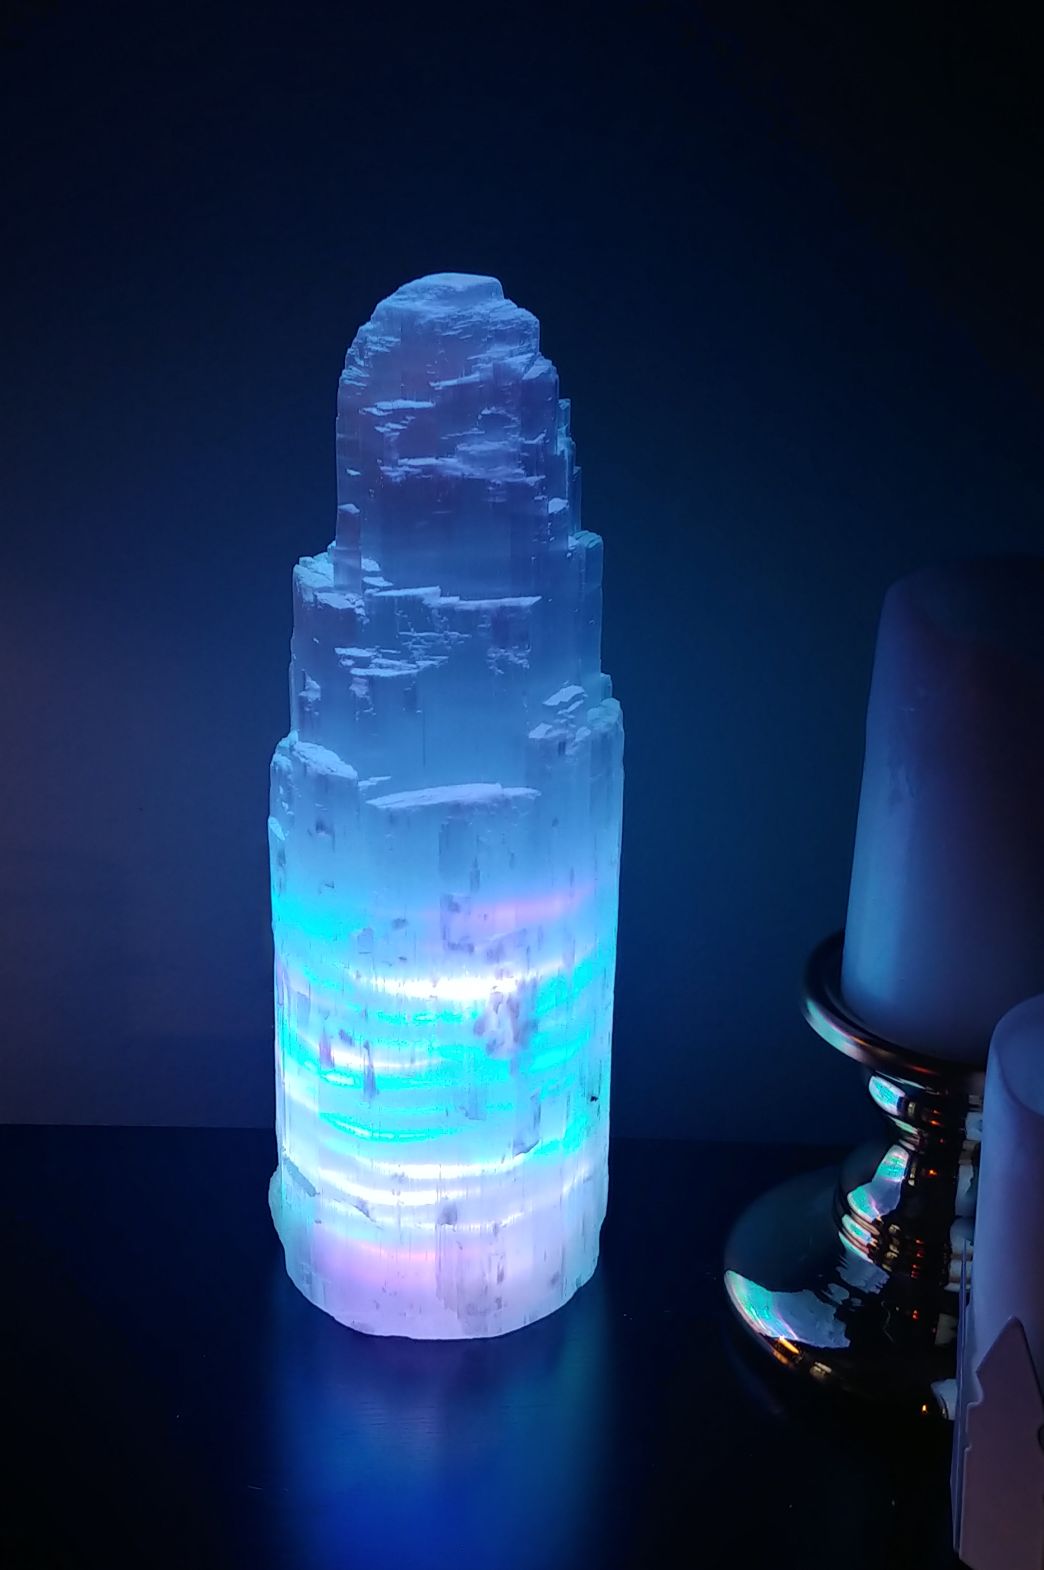
While traveling, I found a cool selenite lamp. These are sold with a hollow cylinder that is exposed on the bottom, and a regular incandescent bulb is placed inside. To make it a DAX Lamp, I just removed the bulb, wrapped some LEDs tightly around a PVC pipe, and placed that inside the selenite. It makes a very cool effect.
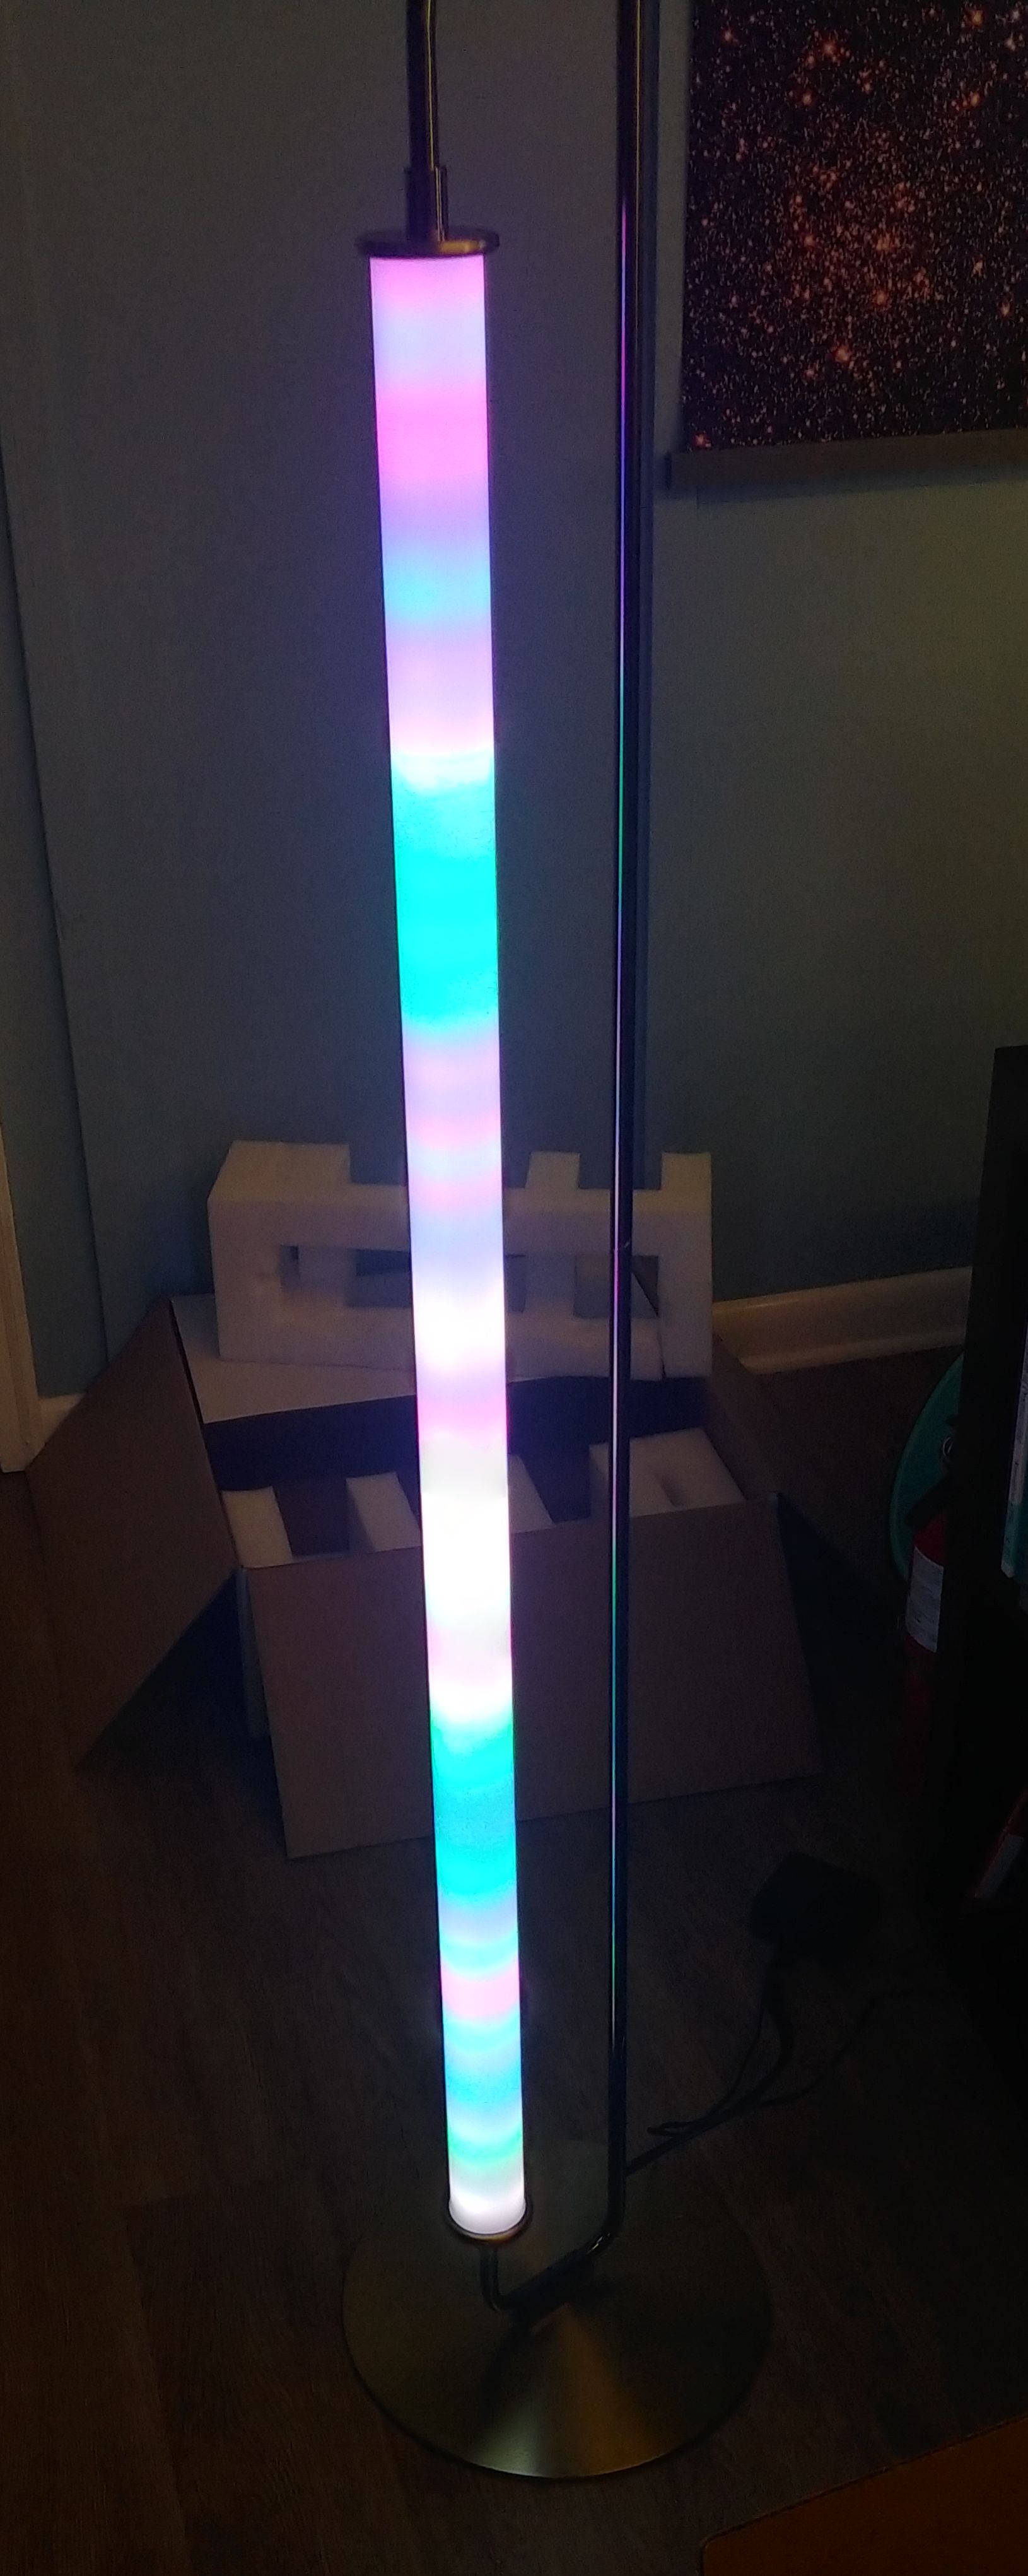
Tube Lamp Retrofit
On a visit to a West Elm outlet store, I found a metal LED tube floor lamp that was for sale at a steep discount. This floor lamp looks cool, and it has a nice dimmer feature, but I knew it would look even cooler with some RGB LEDs installed.
Construction this lamp was difficult. I had to disassemble the lamp without breaking it, then I attached 4 strips of RGBW lights. The power and ground for the LEDs were connected at the top and bottom, and the data input was connected to each of the 4 strips. Unlike my previous spiral design, this was split so that each row of LEDs (one on each of the 4 sides of the central core) all display the same color.
Final assembly and running all the wires back through the base was challenging, but the result was definitely worth it.
Page Tools
